Layouts in Virtual+
Read more about the default layouts available in Virtual+ and how to create and customize your own layouts.
How do I change the current layout?
To change the current layout simply click or tap this icon from your Virtual+ Lobby or from your self view controls once you have joined a Virtual+ meeting.
This will open up the Layout Options box. By default, Virtual+ will choose the best suited layout based on number of participants and view types from the 15 default layouts. This is default is indicated by this setting:
How do I create my own layout?
If you’d like to create your own customized layout select any of the default layouts to start with from the Current Layout drop down. Next, click on Clone. This will create an exact copy of the default layout that you can then rename by clicking on Rename.
How do I change the size and/or placement of the video boxes?
Simply click on Edit to open to the layout editor for the current layout.
In the editor, you have the following options:
- Click/tap on the sides of a box and drag to adjust the size of the box
- Click/tap in the middle of a box and drag to move the box to a different location
- Double click/tap a box to delete it
- Click/tap in background of the editor to create a new box
- Can overlap other boxes to create inset windows (picture in picture example below)

Once you have finished editing the layout simply click/tap on the green update layout icon to apply your changes:
Default Layouts
Below are the 15 default layouts built into Virtual+.
1x1 grid view
2x1 grid view
2+1 grid view
2x2 grid view
3x2 grid view
3x3 grid view
4x3 grid view
4x4 grid view
6x4 grid view
1x2 + 1 hero view
1x3 + 1 hero view
1x4 + 1 hero view
1x6 + 1 hero view
2x6 + 1 hero view
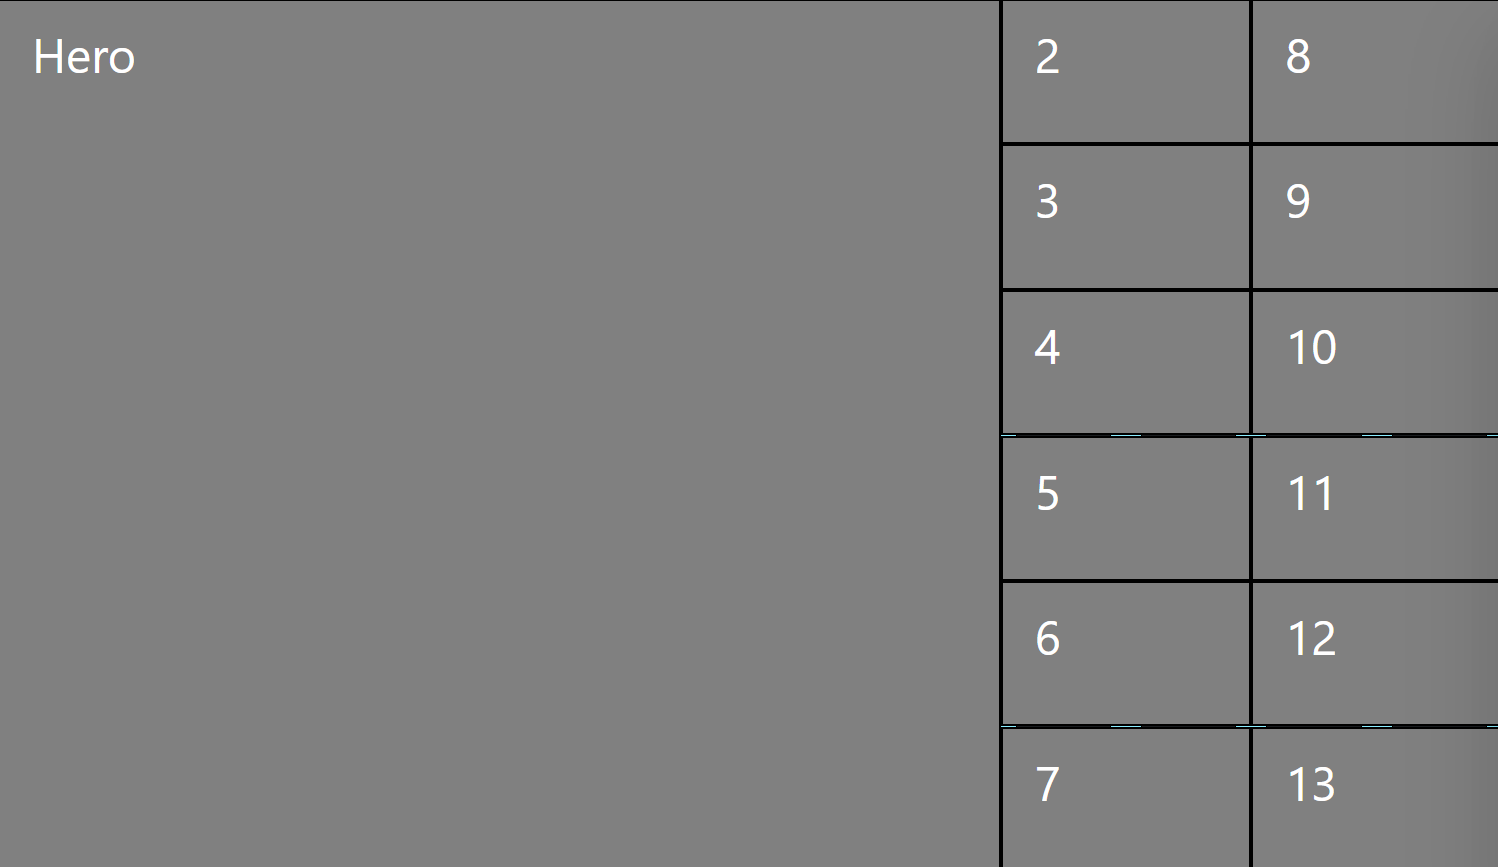
3x6 + 1 hero view
Related Articles
Virtual+ Guide for Clients
Virtual+ Services is Usked's built-in virtual meeting feature, used to connect client(s) and service provider(s) from different locations in one (happy) place. How does it work? Once service provider(s) are confirmed for your request, the ...Virtual+ Guide for Service Providers
Virtual+ Services is Usked's built-in virtual meeting feature, used to connect client(s) and service provider(s) from different locations in one (happy) place. How does it work? Here's a quick tour! Once you are assigned to a Virtual+ request as the ...All About Virtual+ Services
Introducing Usked Virtual+ Services, a way to connect who you want, when you want, in order to provide your services virtually. What is Virtual+ Services? Virtual+ Services is a homegrown, virtual meeting feature that is integrated and available ...Troubleshooting for Virtual+ Services
Having issues connecting to a Virtual+ meeting? Follow these quick troubleshooting steps to resolve! 1. Are you using a supported device and browser? Chrome Firefox Safari Edge (Chromium) *version 79 or above Android Yes Yes - - iOS - - Yes - Linux ...